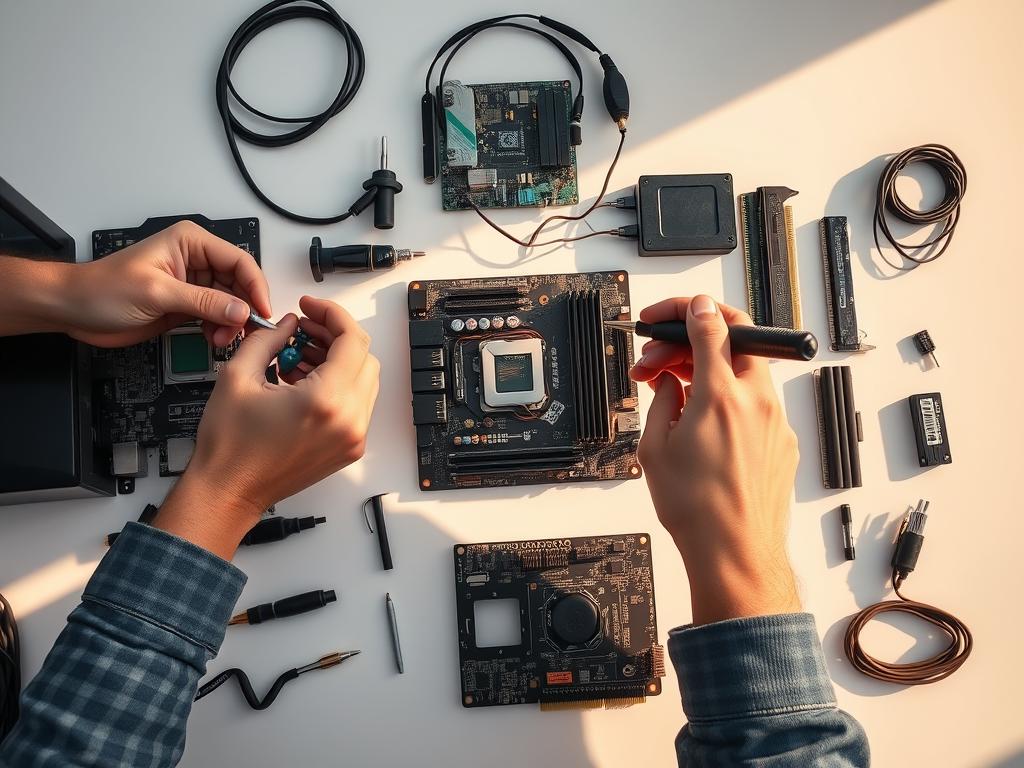
Constructing a custom-built PC might appear intimidating initially, but modern components simplify the process dramatically. Many first-time builders complete their projects in under four hours with basic tools and preparation. This hands-on experience offers unmatched flexibility in tailoring performance to your exact needs.
Pre-assembled systems often cost 20-30% more than DIY builds with identical specifications. By selecting each part yourself, you gain full control over quality, aesthetics, and upgrade potential. Our guide transforms technical complexity into clear, sequential actions anyone can follow.
Common concerns about compatibility issues or fragile components are easily managed with proper research. Detailed manuals and standardized connections make modern assembly surprisingly intuitive. You’ll save money while creating a machine that evolves with your changing requirements.
Basic technical skills are sufficient for successful assembly
Follow our structured approach to avoid common mistakes and ensure smooth operation from initial boot-up. We prioritize practical advice over technical jargon, focusing on what truly matters for reliable performance. Let’s explore the tools, components, and techniques needed for success.
Introduction to Building Your Own Computer Hardware
Assembling your own machine unlocks unmatched flexibility in performance and design. Unlike prebuilt options, you control every detail—from processing power to RGB lighting. This hands-on approach often costs less while delivering better quality parts tailored to your needs.
Custom builds teach critical technical skills through practical experience. You’ll learn how systems integrate components like GPUs and power supplies. However, matching parts requires checking specifications for socket types and wattage limits.
Advantage
Challenge
Solution
Exact performance tuning
Component compatibility
Use PCPartPicker.com
Long-term cost savings
Research time
Follow verified guides
Personalized aesthetics
Assembly errors
Test before finalizing
Overview of the Step-by-Step Process
Successful projects follow five stages: planning, sourcing components, preparing tools, assembling, and testing. Start by defining your budget and primary uses—gaming needs differ from video editing setups. Keep anti-static wristbands and screwdrivers ready before unboxing system elements.
New builders often find cable management trickier than expected. Take photos during disassembly for reference. Most issues resolve with patience and manufacturer tutorials. Your finished creation will reflect both your needs and creativity.
Understanding Your PC Requirements and Budget
Proper planning transforms abstract tech ideas into functional systems. Your daily tasks dictate component priorities more than trends or brand loyalty. Whether editing 4K videos or managing spreadsheets, each activity demands specific resources.
Defining Your Usage: Gaming, Work, or Creative Tasks
Gaming rigs thrive on visual horsepower. Dedicated graphics cards and high refresh rates become essential for smooth gameplay. Memory speeds above 3200MHz help prevent frame drops during intense sessions.
Productivity-focused setups prioritize storage capacity and multitasking power. Solid-state drives (SSDs) accelerate file access, while 16GB RAM handles multiple applications effortlessly. Creative professionals often require both speed and capacity for large project files.
Setting a Realistic Budget for Components
Three tiers guide smart spending:
Tier
Price Range
Key Components
Essential
$300-$600
8GB RAM, 256GB SSD, integrated graphics
Balanced
$700-$1,200
16GB RAM, 512GB SSD, mid-range GPU
Premium
$1,500+
32GB+ RAM, 1TB+ SSD, high-end GPU
Allocate funds strategically using verified assembly guides. A video editor might spend 40% on CPU and memory, while gamers invest 50% in graphics and cooling. Always reserve 10-15% for peripherals and future upgrades.
how to make computer hardware: Tools, Components, and Preparation
Effective preparation separates smooth builds from frustrating tech projects. Start with a clean, spacious area that allows easy access to all parts and tools. A six-foot table works best, giving ample space to organize components without crowding.
Essential Hardware Tools and Accessories
Gather these items before unboxing components:
Magnetic Phillips #2 screwdriver (prevents dropped screws)
Anti-static wrist strap with grounding wire
Nylon cable ties for managing cables
LED work light for interior case visibility
Avoid power tools – manual control prevents overtightening. Keep small containers nearby for different screw types. “The right tools transform assembly from chore to precision work,” notes PC Builder Magazine.
Safety Tips and Workspace Setup
Static electricity can fry components in seconds. Use these precautions:
Work on hardwood/tile floors instead of carpet
Touch the case frame before handling parts
Store components in anti-static bags until installation
Position your power supply first when arranging the workspace. Lay a microfiber cloth under the chassis to prevent scratches. Proper lighting reduces eye strain during cable routing – aim for 500+ lumens at your workstation.
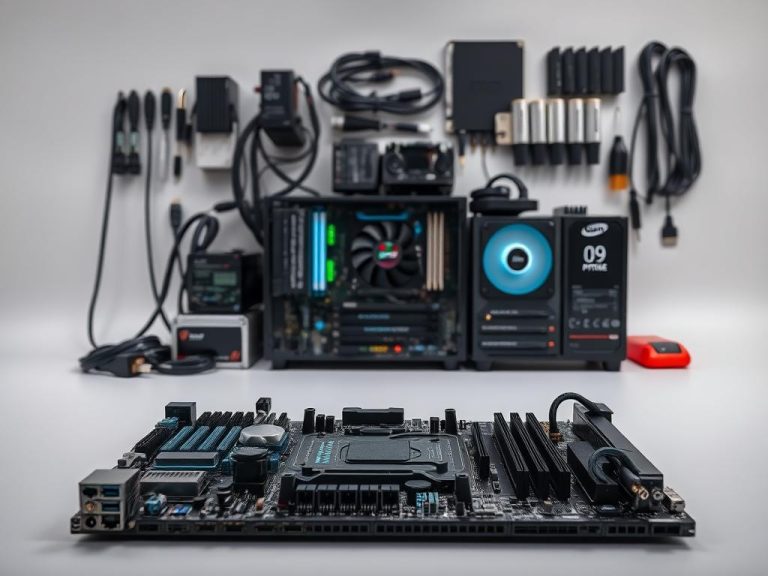
Selecting Key Hardware Components
Building a custom PC begins with strategic component selection. The case and motherboard form your system’s structural and functional foundation. These choices impact airflow, upgrade potential, and overall performance capabilities.
Case Dimensions and Motherboard Synergy
Five standardized form factors dictate case sizes:
Case Type
Motherboard Support
Typical Use
Small Form Factor
Mini-ITX
Compact builds
Mid-Tower
ATX, Micro-ATX
Gaming systems
Full-Tower
E-ATX, XL-ATX
Workstations
Mid-tower configurations dominate home setups, offering balance between component space and desk real estate. “Always verify motherboard mounting points match your chosen case,” advises Tech Hardware Weekly. Front-panel ports and cable routing options vary significantly between models.
Processor Compatibility and Expansion Planning
Modern motherboards specify supported CPU socket types and chipset features. Key considerations include:
Socket alignment (LGA 1700 vs AM5)
Power phase design for overclocking
PCIe 5.0 lane availability
Select processors that leave headroom for future upgrades. Boards with DDR5 support and multiple M.2 slots extend system relevance. Ensure adequate clearance between CPU coolers and case panels for optimal thermal performance.
Deep Dive into Motherboards, CPUs, and Cooling Systems
The foundation of any high-performance setup lies in three core elements: electrical coordination, processing muscle, and thermal regulation. These components work in concert to deliver both immediate results and long-term reliability.
Understanding Motherboard Specifications and Compatibility
Motherboards act as central hubs, routing power and data between all connected devices. Key specifications include:
Form Factor
Key Features
Best Use
ATX
Multiple PCIe slots
Gaming/workstation builds
Micro-ATX
Compact design
Space-efficient systems
Mini-ITX
Ultra-small footprint
Portable configurations
Check chipset compatibility with your chosen processor. Newer boards support PCIe 4.0 for faster storage and graphics. BIOS updates may be required for recent CPU models.
Evaluating CPU Options and Their Cooling Requirements
Modern processors balance clock speeds (measured in GHz) with core counts. A 3.8GHz chip handles single tasks faster, while 12-core models excel at multitasking. Higher speeds demand robust cooling solutions.
Consider these factors when selecting cooling systems:
Air coolers: Affordable and low-maintenance
Liquid radiators: Efficient for overclocked chips
Case fans: Optimize airflow patterns
Thermal paste application proves critical – pea-sized dots ensure even heat distribution. Monitor temperatures using software like HWMonitor during stress tests.
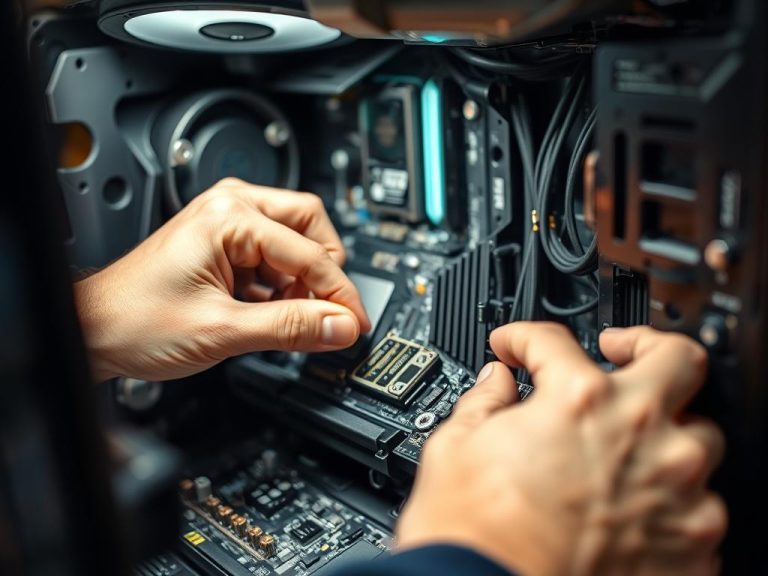
Setting Up Memory and Storage Solutions
Optimizing your system’s performance hinges on smart memory and storage choices. These components directly impact speed, multitasking capabilities, and long-term reliability. Strategic selection balances current needs with future expansion.
Modern builds demand careful planning for temporary and permanent data handling. Let’s examine critical factors for maximizing efficiency.
Determining the Right RAM Capacity and Type
RAM acts as your system’s active workspace. For basic tasks, 8GB suffices. Gaming and creative work benefit from 16-32GB configurations. Match DDR4/DDR5 types to your motherboard’s specifications.
Clock speeds matter for data-intensive applications. Pair higher MHz ratings with compatible processors. Dual-channel setups boost performance by spreading workloads across modules.
Exploring SSD vs. HDD and NVMe Options
Storage drives dictate file access speeds and system responsiveness. SSDs outperform traditional HDDs by 6x, with no moving parts for enhanced durability. NVMe models leverage PCIe lanes for blistering 7,000MB/s transfers.
Budget-conscious builders often combine a 500GB NVMe drive for the operating system with a 2TB HDD for archives. This hybrid approach delivers speed and capacity without overspending.
FAQ
What components are critical for gaming PC builds?
Prioritize a robust GPU like NVIDIA GeForce RTX 4070 or AMD Radeon RX 7800 XT, paired with a compatible motherboard (e.g., ASUS ROG Strix B650-E) and sufficient RAM (32GB DDR5). A high-wattage PSU (750W+ from Corsair or EVGA) ensures stable power delivery.
How do I ensure motherboard compatibility with my processor?
Match the CPU socket type (e.g., AM5 for AMD Ryzen 7000 or LGA 1700 for Intel Core 13th Gen) to the motherboard. Check chipset support—motherboards like MSI PRO Z790-P WiFi include BIOS updates for newer processors.
Are SSDs better than HDDs for primary storage?
SSDs like Samsung 970 EVO Plus offer faster boot times and data access compared to HDDs like Seagate BarraCuda. For intensive tasks, NVMe drives (e.g., WD Black SN850X) provide speeds up to 7,300 MB/s.
What cooling solutions prevent overheating in compact builds?
Low-profile air coolers (Noctua NH-L9i) or 240mm AIO liquid coolers (NZXT Kraken X53) fit small cases. Ensure case fans (Corsair ML120) maintain airflow, especially with high-TDP CPUs like Intel i9-13900K.
How much RAM is sufficient for multitasking?
16GB DDR4/5 suits general use, but 32GB is ideal for content creation or gaming. Opt for dual-channel kits (G.Skill Trident Z5) to maximize bandwidth. Check motherboard QVL lists for compatibility.
Can I reuse an old PSU in a new build?
Only if it meets current wattage demands and has 80 Plus certification (e.g., EVGA SuperNOVA 850 G6). Older units lacking PCIe 5.0 connectors may not support modern GPUs like NVIDIA RTX 4080.
What tools are essential for assembling hardware?
Use a magnetic Phillips screwdriver, anti-static wrist strap, and thermal paste applicator. Cable ties and a modular PSU (Seasonic FOCUS GX-850) simplify cable management in cases like Fractal Design Meshify 2.
How do I future-proof my system for upgrades?
Select motherboards with PCIe 5.0 slots and DDR5 support (Gigabyte AORUS X670E). Choose cases with ample space for larger GPUs and liquid cooling radiators. Invest in a PSU with headroom for next-gen components.
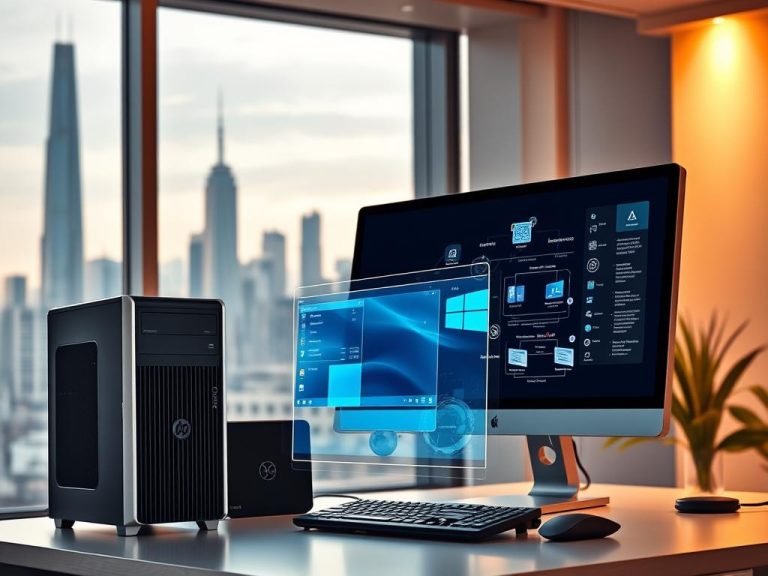
Which operating system works best for custom builds?
Windows 11 Pro offers broad hardware compatibility and DirectStorage support. For Linux users, Ubuntu LTS or Pop!_OS ensures driver support for AMD and NVIDIA GPUs via open-source or proprietary drivers.
How do I troubleshoot no POST after assembly?
Verify all power cables (24-pin ATX, 8-pin CPU) are secure. Test with one RAM stick in the correct slot. Check for CPU/motherboard bent pins. Use a motherboard speaker or Q-LED indicators (ASUS Prime Z790-A) for error codes.
Modern technology relies on physical systems that power everything from smartphones to data centers. Understanding these systems starts with learning how their components interact. A hardware-focused educational program teaches the fundamentals of internal and external devices, preparing learners for real-world IT challenges. Students explore components like motherboards, RAM, CPUs, and storage drives. Hands-on labs build…
When discussing computing systems, many assume every element falls under hardware or software. But this binary view often leads to confusion. Physical parts like motherboards and processors clearly belong to the hardware category. These tangible components form the backbone of any device. In contrast, programs and operating systems represent software. They act as digital instructions…
Random Access Memory (RAM) is a vital part of modern computing. It acts as a digital workspace for processing and storing active data. RAM enables quick information retrieval, making it crucial for system performance. RAM is a high-speed storage mechanism for computers. It allows data access significantly faster than traditional storage methods. RAM’s access speeds…
Computer hardware has evolved rapidly since its early days. This guide explores the tech infrastructure powering digital devices worldwide. It unravels the complex mechanisms behind computer components. Grasping computer hardware is vital in our digital era. Every machine has essential parts that process information and store data. These components work together to enable user interactions….
Computer hardware is the physical stuff that makes up computing devices. These tangible bits are crucial for digital tech to work. They turn abstract instructions into real computing experiences. Hardware includes all the parts you can touch in a computer. Unlike software, which is digital, hardware is the physical core of computing. There’s a key…
Keeping physical components in top shape ensures smooth operations for businesses and individuals. This process involves systematic audits, upgrades, and care for devices like keyboards, hard drives, and batteries. Proper attention to these elements prevents unexpected failures and reduces downtime. Most systems last five to eight years with basic care. However, regular preventive measures can…