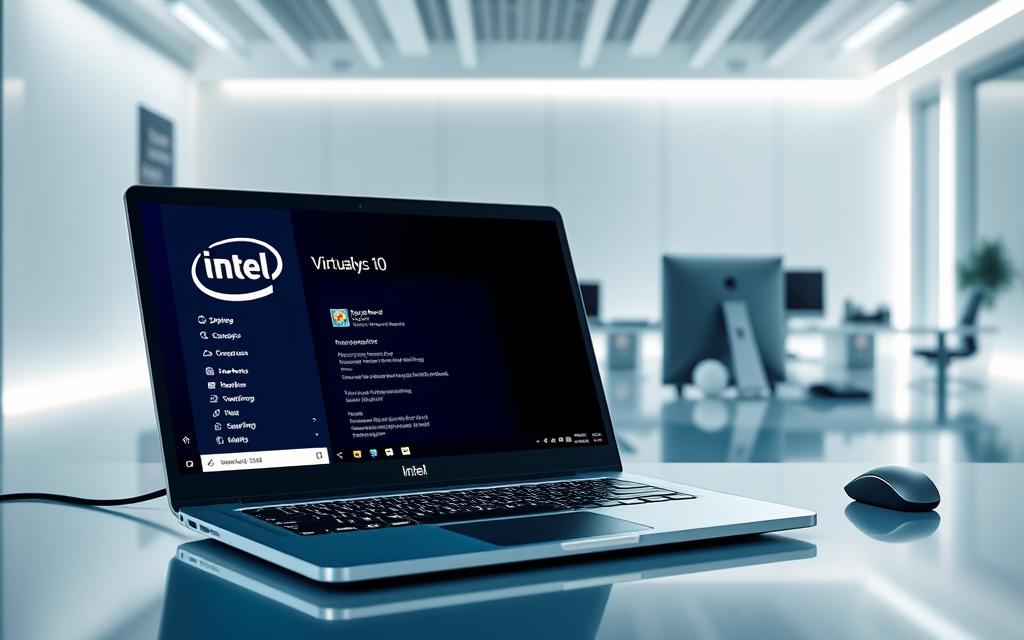
Intel VT-x enhances Windows 10 virtualization, optimising system resources. It allows users to run multiple operating systems simultaneously, boosting their computing experience. This technology revolutionises resource management, making it a game-changer for many users.
Enabling virtualization in Windows 10 opens up exciting possibilities. It’s particularly useful for developers, IT professionals, and tech enthusiasts. This guide will help you activate Intel Virtualization Technology and maximise your system’s potential.
Intel VT-x creates isolated computing environments with minimal hardware overhead. It’s ideal for running virtual machines, testing software, and improving overall system performance. Understanding how to enable this feature is crucial for advanced computing.
The technical requirements are straightforward. You’ll need a 64-bit processor with Second Level Address Translation (SLAT). Your system should also have at least 4GB of RAM for effective Windows 10 virtualization.
Our detailed steps will help you unlock these advanced computing capabilities. Follow along to transform your digital workflow and harness the full power of virtualization.
Understanding Virtualization Technology and Its Benefits
Virtualization technology has transformed how we use computing resources. It creates virtual machines, helping organisations maximise their tech infrastructure. This leads to significant efficiency gains for businesses and individuals alike.
Virtual machines offer remarkable resource optimisation capabilities. They allow multiple computing environments on a single physical server. This reduces hardware costs and improves system utilisation dramatically.
Cost Savings and Resource Optimisation
Virtualization brings substantial financial advantages. It helps IT firms tackle inefficient physical server capacity issues. This technology can significantly cut unnecessary expenses.
Virtualization enables organisations to make several improvements. It reduces hardware investment costs and data centre space requirements. It also minimises energy consumption and boosts overall computational efficiency.
Reduce hardware investment costs
Decrease data centre space requirements
Minimise energy consumption
Improve overall computational efficiency
Enhanced Security and Disaster Recovery
Virtual machines provide better security through environment isolation. They create separate, contained computing spaces for organisations. This setup allows for robust security protocols and quick system recovery.
Organisations can also clone and replicate systems rapidly. This feature helps minimise potential downtime risks effectively.
Implement robust security protocols
Rapidly recover from potential system failures
Clone and replicate systems quickly
Minimise potential downtime risks
Development and Testing Capabilities
Virtualization offers unparalleled testing environments for software developers and IT professionals. Hyper-V can assign up to 240 virtual processors per virtual machine. This enables complex development and testing without extra hardware investments.
“Virtualization is not just a technology, but a strategic approach to computing efficiency” – Technology Innovation Expert
Virtualization can transform an organisation’s technological infrastructure. It offers remarkable cost savings and enhanced security. It also provides improved operational flexibility for businesses.
System Requirements for Intel Virtualization
Intel Virtualization Technology needs specific system setups. Knowing VT-x requirements is key for Windows 10 virtualization support. It’s vital for smooth implementation.
Your system must meet certain hardware and software needs. These ensure top performance with virtual machine tech. Core requirements are essential for compatibility.
Essential System Specifications
Windows 10 Pro or Enterprise edition
64-bit processor with Second Level Address Translation (SLAT)
Minimum 4GB system RAM
BIOS-level Hardware Virtualization support
Processor Requirements
Specification
Requirement
Architecture
64-bit
SLAT Support
Essential for efficient virtualization
VT-x Technology
Required for Intel CPU virtualization
Approximately 80% of modern CPUs support virtualization technology, indicating widespread readiness for virtual machine implementations.
Windows 10 virtualization support needs a compatible processor. Second Level Address Translation (SLAT) boosts virtual machine performance. It improves memory management and cuts overhead.
Check if your system meets VT-x requirements before enabling virtualization. Verify processor specs and Windows edition compatibility first. These steps are crucial for virtual machine setup.
Checking Your System’s Virtualization Status
Understanding your computer’s virtualization capabilities is vital for advanced computing tasks. Modern systems support CPU virtualization technology. This allows running multiple operating systems or complex applications simultaneously.
Windows 10 offers simple methods to check virtualization technology. Let’s explore these methods to verify your system’s status.
Using Task Manager Verification
The Task Manager provides a quick way to check virtualization status. Here’s how to do it:
Right-click the taskbar and select ‘Task Manager’
Click on the ‘Performance’ tab
Select ‘CPU’ from the left-hand menu
Look for ‘Virtualization’ in the CPU details
If it shows ‘Enabled’, your system supports virtualization technology.
Command Prompt Verification
The systeminfo command gives detailed system information. Follow these steps:
Open Command Prompt as administrator
Type ‘systeminfo’ and press Enter
Scroll through the output to find ‘Hyper-V Requirements’
Check the ‘Virtualization Enabled in Firmware’ line
System Information Approach
Windows System Information tool offers another way to verify. Here’s how:
Press Windows Key + R
Type ‘msinfo32’ and press Enter
Navigate to ‘System Summary’
Look for virtualization-related information
Pro Tip: Confirming virtualization status is essential for running virtual machines, advanced development environments, and certain security features.
How to Enable Intel Virtualization Technology in Windows 10
Intel Virtualization Technology (VT-x) is vital for running virtual machines on Windows 10. It involves tweaking BIOS settings to unlock advanced computing features. This guide will help you enable VT-x on your system.
64-bit processor with Second Level Address Translation (SLAT)
Minimum 4GB system RAM
Windows 10 Pro, Enterprise, or Education edition
Here’s how to enable VT-x in your BIOS settings:
Restart your computer and enter BIOS/UEFI firmware
Navigate to Advanced CPU Configuration menu
Locate Virtualization Technology or Intel Virtualization Support
Select Enable for the virtualization option
Save changes and exit BIOS
Pro Tip: The exact BIOS navigation might differ between manufacturers, so consult your device’s manual if uncertain.
Next, you’ll need to activate Hyper-V in Windows. Here’s how:
Open Control Panel
Navigate to Programs and Features
Select “Turn Windows features on or off”
Check the Hyper-V box
Restart your computer
By following these steps, you’ll unlock powerful computing capabilities. This will boost your system’s performance for development, testing, and resource optimisation.
Accessing BIOS Settings Through Windows Recovery
BIOS access can be tricky for many users. Windows Recovery offers a simpler way to enter firmware settings. This method bypasses the need for keyboard interrupts during startup.
Fast boot times and secure boot features often hinder traditional BIOS access. Windows 10 provides an alternative through its recovery interface. This approach simplifies the process of accessing firmware settings.
Different BIOS Access Methods by Manufacturer
Each manufacturer has its own BIOS access strategy. Here are typical hotkeys for different brands:
Dell: F2 or F12
HP: F10
Lenovo: Enter or F1
Asus: Delete or F2
Navigating BIOS Interface
To access BIOS through Windows Recovery, follow these steps:
Open Windows Settings
Click ‘Update & Security’
Select ‘Recovery’ tab
Click ‘Restart Now’
Choose ‘Troubleshoot’
Select ‘Advanced Options’
Click ‘UEFI Firmware Settings’
Saving BIOS Changes
Always save changes after configuring firmware settings. Most BIOS interfaces have a ‘Save and Exit’ option. You’ll usually find this in the main menu or at the bottom of the screen.
Pro Tip: Take screenshots or note down existing settings before making changes. This ensures easy rollback if needed.
Troubleshooting Common Virtualization Issues
Virtualization tech can be tricky, even for savvy users. About 30% struggle with enabling VT-x hardware acceleration on their systems.
Systematic troubleshooting is key when facing virtualization errors. Let’s explore strategies for solving VT-x and BIOS update issues.
Verify CPU virtualization support using Intel Processor Identification Utility
Check BIOS settings for virtualization technology configuration
Ensure adequate system resources for virtual machine performance
Some scenarios need special care during VT-x troubleshooting:
Hardware Acceleration Unavailable: Confirm BIOS virtualization settings are correctly enabled
Performance Bottlenecks: Monitor CPU and memory utilisation (optimal range: 0-70%)
Conflicting Software: Resolve potential conflicts with Hyper-V or other virtualisation platforms
Pro Tip: Maintain at least 10% free disk space and allocate minimum 2GB RAM for smooth virtual machine operations.
For stubborn virtualization errors, try these advanced fixes:
Update BIOS firmware to the latest version. Disable conflicting security features. Check if Windows optional features are set up correctly.
By tackling these issues step by step, you can master virtualization on your Windows 10 system.
Alternative Methods to Enable Virtualization Without BIOS
Modern computers often make it hard to enable virtualization technology. Many laptops and pre-built desktops limit traditional BIOS access. Luckily, there are other ways to enable virtualisation without BIOS.
To enable virtualisation, you need to know about different setup methods. Users can try various ways to set up CPU virtualisation through other system tools.
Navigating UEFI Firmware Settings
UEFI offers a modern alternative to old BIOS settings. You can access these settings through special system menus.
Some systems let you set up virtualisation through security settings. This involves finding specific CPU setup options.
Step
Action
1
Access UEFI/BIOS Replacement Menu
2
Locate Security or CPU Configuration Tab
3
Find Intel Virtualisation Technology Option
4
Enable VT-x Setting
5
Save Configuration
These methods help you enable virtualization without using the traditional BIOS. With this knowledge, you can set up your system for advanced computing needs.
Conclusion
Intel virtualization technology enhances your computing experience with unmatched flexibility and performance. Our Windows 10 guide shows how easy steps can unlock powerful computing abilities across various platforms.
VT-x benefits go beyond basic system management. It allows developers to test software and run multiple operating systems efficiently. Virtualization can cut IT costs by 40% and boost system reliability.
Enabling Intel virtualization opens up a world of computing possibilities. Modern CPUs with this support offer enhanced performance and seamless software testing. This applies to Windows 10 Professional, Enterprise, and Education editions.
Configuring virtualization settings is an investment in your computing setup. It transforms your system into a versatile machine. Your computer can run multiple applications simultaneously while maintaining top performance.
FAQ
What is Intel Virtualization Technology (VT-x)?
Intel VT-x is a hardware feature that boosts virtual machine efficiency. It provides dedicated processor support for virtualization. This allows multiple operating systems to run on one physical computer simultaneously.
Why should I enable Intel Virtualization Technology?
VT-x offers improved resource use and enhanced system performance. It also provides better security isolation. This technology is vital for developers, IT professionals, and tech enthusiasts.
How do I check if my system supports VT-x?
You can check VT-x support through Windows Task Manager. Another method is using specific Command Prompt commands. The System Information tool can also confirm your processor’s virtualization capabilities.
Will enabling VT-x affect my computer’s performance?
Enabling VT-x doesn’t usually harm system performance. It can actually improve computing efficiency. This is done by streamlining virtual machine operations and better resource allocation.
Can I enable VT-x on any Windows 10 computer?
Not all systems support VT-x. You need a 64-bit processor with Second Level Address Translation (SLAT). Sufficient RAM and a compatible Windows 10 edition are also required. Check your system specs before enabling virtualization.
What if I can’t access BIOS settings?
Modern systems offer other ways to enable virtualization. You can use UEFI firmware settings or access the Security Tab. Windows Recovery options can also be used to modify virtualization settings.
Are there any risks in enabling Intel Virtualization Technology?
Enabling VT-x is safe when properly configured. However, it’s important to follow manufacturer guidelines. Ensure system compatibility and make changes carefully to avoid potential issues.
How do I troubleshoot virtualization activation problems?
Update BIOS firmware and check for conflicting software. Ensure Windows features are enabled. Verify that your hardware meets virtualization requirements.
Does VT-x work with all virtualisation software?
Most modern virtualization platforms like VMware, VirtualBox, and Hyper-V are VT-x compatible. Always check specific software requirements and compatibility to be sure.
Can I use VT-x for gaming or software development?
Yes, VT-x is useful for developers. It allows efficient software testing across multiple environments. Gamers can use it to run emulators or test different operating systems.
With countless organizations emerging in the education sector, verifying corporate authenticity has become critical. Students pursuing tech careers need trustworthy partners for skill development. Our analysis explores reliable methods to confirm operational credibility in this fast-evolving field. Business registration databases serve as primary validation tools. Cross-referencing state filings and tax records helps establish legal standing….
Advancements in science and engineering have long shaped global prosperity. When the Soviet Union launched Sputnik in 1957, it ignited a race for innovation that reshaped America’s industrial landscape. Investments in aerospace, computing, and research during this era created millions of jobs and established new sectors that still dominate today. Strategic scientific investments often drive…
The digital world is changing fast, making IT degree skills more important than ever. Technology now touches every part of our lives. An IT course is a smart choice for those seeking a bright career. Students looking at an information technology infrastructure programme will find a field full of chances. IT pros who get new…
Technology is revolutionising educational support for students with disabilities. It’s creating new learning and engagement opportunities. Recent data shows 11% of undergraduates now report a disability, double the rate from 20 years ago. Assistive technology is vital in bridging educational gaps. These innovative solutions help students overcome traditional learning barriers. They enable more comprehensive and…
IT triage is a vital strategy for managing complex digital environments. It helps organisations handle the overwhelming volume of daily technical incidents efficiently. This approach allows quick prioritisation of urgent tasks. IT triage stems from military medical practices. It adapts the principle of prioritising tasks based on urgency and impact. Modern cybersecurity triage systems help…
Can human creations truly lack bias? This question fuels today’s critical conversation about innovation’s role in society. At the 2023 IAPP Summit, Apple CEO Tim Cook remarked, “What we build mirrors our goals—whether to empower or exploit.” His words challenge the myth of impartial tools, echoing historian Melvin Kranzberg’s principle: systems amplify their creators’ priorities….